When we moved into our Georgian cottage there was no bathroom. At least not in the usual sense. An almost square extension had been added at the rear in the early 1980s, to house a bathroom with dimensions of approximately 3 metres by 3 metres.
This is quite a nice size for a bathroom, but the previous owners had chopped it up into three different rooms by putting in stud walling. They’d also elected to forgo a bath in favour of a mobility shower. So what we had was a large cupboard containing a hot water tank, a mobility shower room with a toilet and a separate room next to it, also housing a toilet.
The bathroom, split into 3 different rooms
It was all very old, tired, full of mould, damage and lino. We decided it all needed to come out, including the stud walling so we could start again straight from scratch.
The toilet room next to the main bathroom
As our house is Grade II listed, before we began we contacted the borough council to check whether the work would require listed building consent. Fortunately, we were told that as the extension was a relatively new addition to the property and we were essentially replacing the old bathroom suite, removing some stud walling and not interfering with the fabric of the original house or relocating the bathroom to another room, we could proceed without needing to apply for listed building consent.
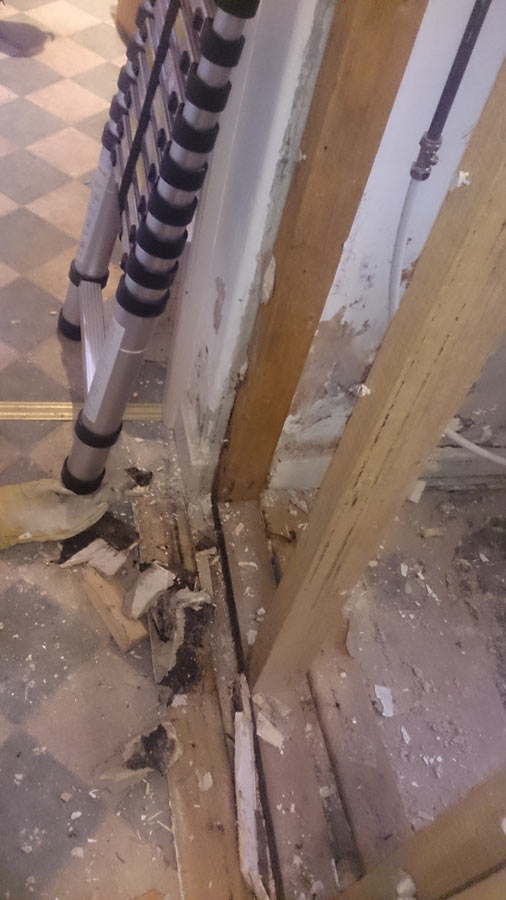
The first requirement was to knock all the stud walling down, five walls in total. I could have retained one of the old stud walls and just knocked the three rooms into one big room, but I decided to take down the main wall onto the corridor as well, mainly because there were two doorways in that wall and I wanted a single doorway in a slightly different position. Also, at some point there had been a water leak near that wall and I wanted to use new wood to ensure its structural integrity would stay intact for a long time to come.
Removing the stud wall between the main bathroom and the toilet
The walls came down fairly easily, with a lot of help from a sledgehammer and crowbar. This was probably the most satisfying part of the room rip out, although it took me a few weeks in total, due to me working it around my job.

Water damage to existing stud wall against the corridor
The least satisfying was having to remove two toilets from the room. The pipework was old and the screws that were bolting the toilets to the floor had corroded so much that I couldn’t undo them or drill them out. I had to break the porcelain to remove the toilet pan. Unfortunately, with one of the toilets I managed to destroy the integrity of the pan. Not too bad on its own, as relatively clean water should have just come out of the toilet and across the floor. Unfortunately it soon became apparent that there had been a blockage and sewage flowed out across the floor. A nauseating clean-up task ensued.
Preparing to remove one of the toilets
Then on to removing all the old tiles from the walls and taking out the mobility shower, which was particularly troublesome as it was well and truly bonded into the floor and also screwed down onto large sheets of plywood.
Then I moved onto lifting up all the lino, an easy job. Or so I thought. It soon became apparent that cork floor tiles had been glued down onto the floor underneath the lino. These all needed lifting before we could pour in the levelling screed.
I plugged in my multi-tool and got to work. It still took the better part of 2 hours to lift all the cork tiles.
Stripping out the cork floor tiles glued down onto the concrete
Other jobs included taking out the lighting, removing the electric shower, disconnecting an electric heater and temporarily repositioning a sink so we could have a radiator installed underneath the window as part of our gas connection and 1890s cast iron radiator installation.
Sink re-positioned to where one of the old toilets was located
As we were living in the house as all the work was being carried out, I had to make sure that we had some semblance of a bathroom throughout the strip out. I installed the new toilet in its new location and placed our new double ended slipper bath below the electric shower, using it as a temporary shower tray until we began the new bathroom buildup.
New bath used as a temporary shower tray below the electric shower
Also, with me taking down all the stud walls, I needed to construct the skeleton of a new stud wall fairly quickly, so that we had a 4-sided room, rather than anyone using the bathroom being on show for all to see.
All stud walls removed, bathroom directly accessible from the back door
For the stud wall I used treated wood. Although I didn’t really need to use treated wood – unless working outside or below ground level it’s not a necessity. However, I decided that for the extra £20 it was definitely worth the investment!
The entire strip-down probably took around 6 weeks, as I was doing it myself in my spare time.
For the next installment of this blog I’ll cover the fun part of building up the bathroom, and having to bathe in a bath in the back garden during the period that the plumber was carrying out first fix pipe connections and tiling out the room.


